Table of Contents
ToggleIntroduction
Have you ever wondered how a pneumatic line can be connected in just seconds without tools, threads, or clamps—yet still maintain a reliable, leak-free seal under pressure? This is the magic of push-to-connect fittings, a staple in modern pneumatic systems for their simplicity, speed, and efficiency. But how do they work, and why are they so effective?
Push-to-connect fittings—also known as push-in or quick-connect fittings—are specialized pneumatic connectors that allow for rapid, tool-free connections between tubing and components. Their internal mechanisms grip and seal tubing securely using a combination of mechanical grip rings and elastomeric O-rings, offering a practical solution for both static and frequently changed pneumatic setups.
In this article, we’ll take a deep technical dive into how push-to-connect fittings function, where they shine, what to watch out for, and how to select and maintain them for reliable pneumatic performance. Whether you’re an engineer designing a new automated system or a maintenance technician troubleshooting air leaks, this comprehensive guide will help you understand every aspect of push-to-connect fittings.
What Are Push-to-Connect Fittings and Why Are They Used in Pneumatic Systems?
Push-to-connect fittings are designed to simplify the connection process in pneumatic systems. Understanding what they are and why they’re preferred in certain applications is key to evaluating their suitability.
What Is a Push-to-Connect Fitting?
A push-to-connect fitting is a type of air line connector that allows users to attach tubing by simply pushing the tube into the fitting. Once inserted, the tube is held in place by a gripping mechanism and sealed with an internal O-ring.
Key Components:
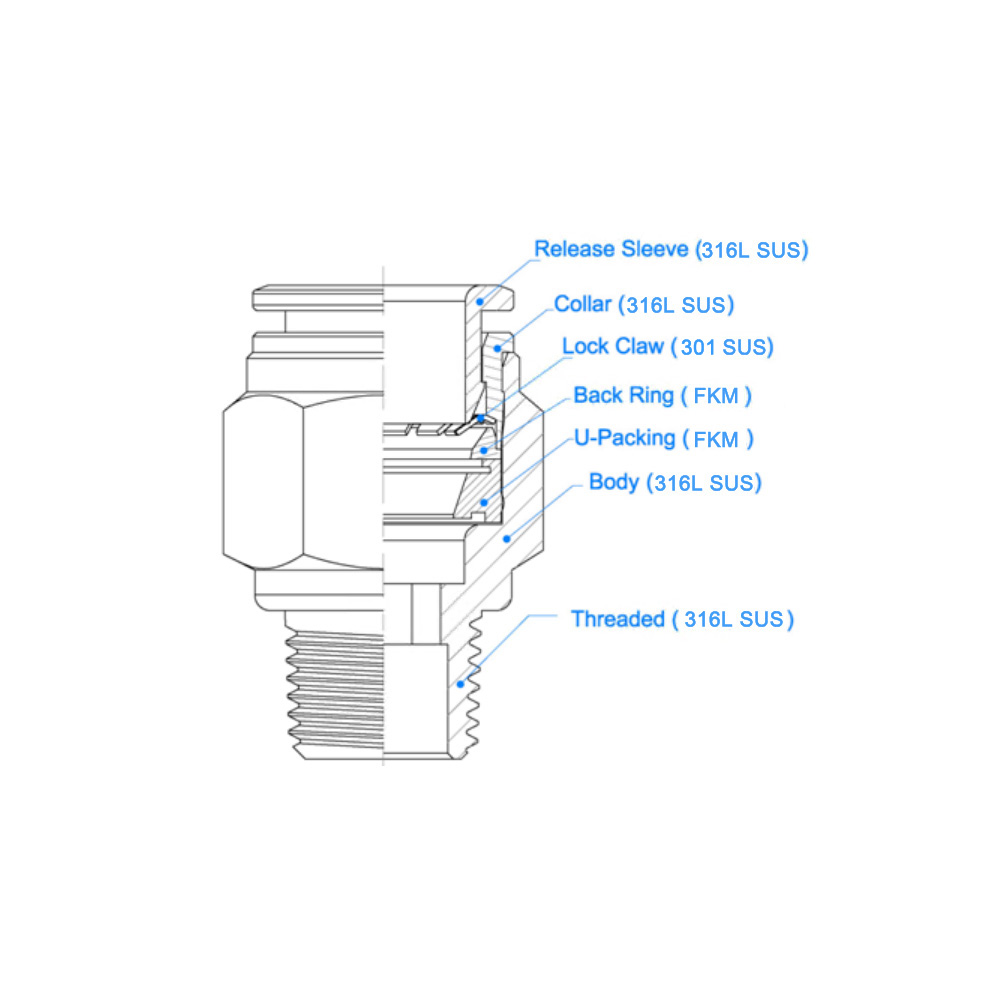
Push-to-connect fittings consist of several key components that work in unison to form a secure connection:
- Body: Typically made of brass, stainless steel, or plastic
- Lock Claw: A toothed ring that locks the tube in place when inserted.
- O-Ring Seal: Ensures an airtight connection by compressing against the tube’s outer diameter.
- Release Sleeve: Allows for easy disconnection by releasing the collet’s grip on the tubing.
Common Types:
- Straight Tube Fitting – Connect two tubes in-line.
- Elbows & Tees – Change airflow direction or split lines.
- Threaded Adapters – Interface with NPT, BSPP, or metric ports.
How Does the Connection Mechanism Work?
The operation of push-to-connect fittings can be boiled down to a few simple steps:
- Inserting the Tubing: The tubing is pushed into the fitting until it passes the O-ring and collet.
- Automatic Locking: As the tube enters, the collet grips it with its teeth, creating a secure hold.
- Sealing: The O-ring compresses around the tubing, ensuring an airtight, leak-proof seal.
Pro Tip: 1. Always cut tubing squarely and deburr edges to prevent O-ring damage.
2.Always push the tube in until it bottoms out; partial insertion can lead to leaks or blowouts.
How Do You Disconnect These Fittings?
Disconnecting a push-to-connect fitting is as straightforward:
- Press the Release Sleeve: Compressing the release sleeve retracts the collet, releasing the grip.
- Remove the Tubing: The tubing can be easily pulled out without damaging either the tube or the fitting.
Safety Note: Always depressurize the system before disconnecting to avoid injury.
Why Do Pneumatic Systems Use Push-to-Connect Fittings?
There are several reasons push-to-connect fittings are a go-to solution in pneumatic setups:
- Speed and Ease of Installation: No tools or thread sealants required.
- Reusable: Tubing can often be disconnected and reused with minimal wear.
- Compact Design: Ideal for tight spaces and modular systems.
- Leak-Resistant: High-quality O-rings provide excellent sealing performance.
- Versatility: Available in numerous configurations, materials, and sizes.
Common Applications
| Application Area | Description |
|---|---|
| Industrial Automation | Used in actuators, valve manifolds, and control panels |
| Food & Beverage | Stainless-steel push-in fittings used for hygiene |
| Medical Equipment | Compact, sterile air lines in diagnostic tools |
| Robotics and Pick-and-Place | Flexible routing in dynamic assemblies |
| Packaging Machinery | High-speed cycles benefit from tool-free maintenance |

The Sealing Mechanism
- O-ring Material: Commonly NBR, EPDM, or FKM (Viton) depending on temperature, pressure, and chemical compatibility.
- Self-Sealing: The compressed O-ring seals against the outer diameter of the tube, forming a pressurized seal.
What Types of Tubing and Materials Are Compatible with Push-in Fittings?
Compatibility between tubing and fitting materials is crucial for performance, longevity, and safety.
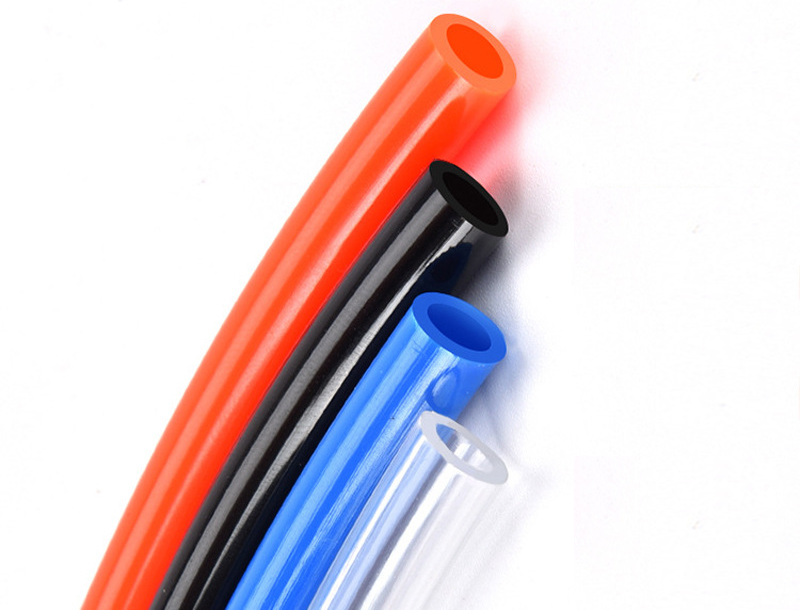
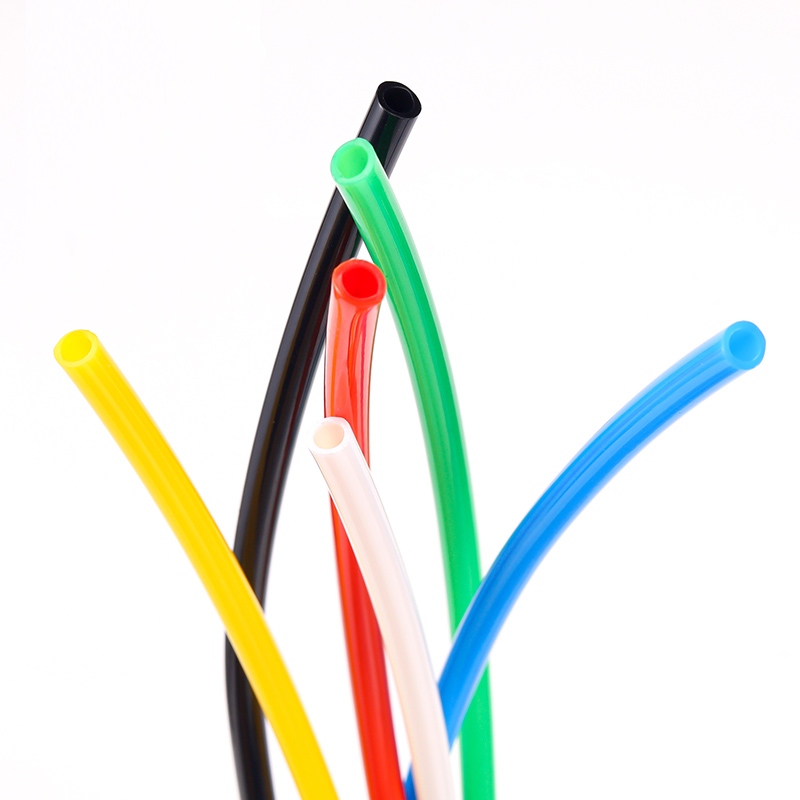
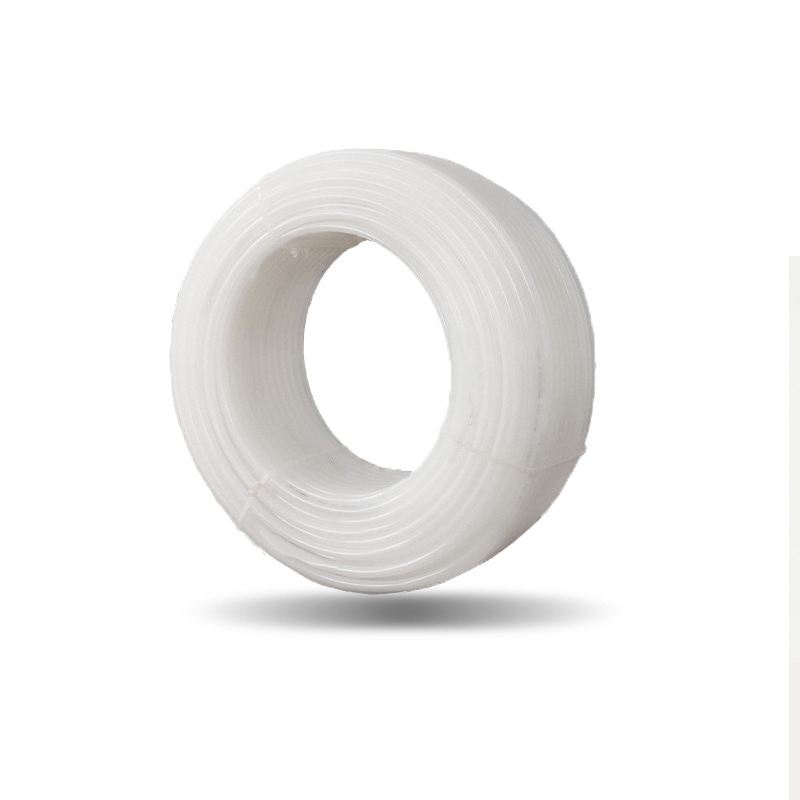
Compatible Tubing Types
| Tubing Type | Description | Compatibility |
|---|---|---|
| Polyurethane | Flexible, good for tight bends | ★★★★★ |
| Nylon (PA) | Strong, semi-rigid, good pressure rating | ★★★★★ |
| Polyethylene | Lightweight, low-cost | ★★★★☆ |
| PTFE | Chemically resistant, rigid | ★★★☆☆ |
| Soft Metal Tubing | Less common, may require inserts | ★☆☆☆☆ |
Note: Always ensure the tube OD matches the fitting size exactly—tolerances are tight.
Compatible Fitting Materials
| Material | Best For | Pros |
|---|---|---|
| Brass | General industrial use | Durable, corrosion-resistant |
| Nickel-Plated Brass | Harsh environments | Enhanced corrosion resistance |
| Stainless Steel | Food, medical, corrosive environments | Hygienic, chemical resistant |
| Composite/Plastic | Lightweight, cost-effective | Ideal for low-pressure systems |
What Are the Key Advantages and Limitations of Push-to-Connect Fittings?
While highly convenient, push-to-connect fittings are not universally ideal. Understanding both sides will help you make informed design choices.
Key Advantages
- 1. Tool-Free Installation: Push-to-connect fittings eliminate the need for wrenches, clamps, or soldering.
- 2. Fast Maintenance and Retrofits: Perfect for systems that require frequent alterations or service.
- 3. Minimized Downtime: Quick disconnection reduces repair times in production environments.
- 4. Compact and Lightweight: Ideal for space-constrained or mobile pneumatic systems.
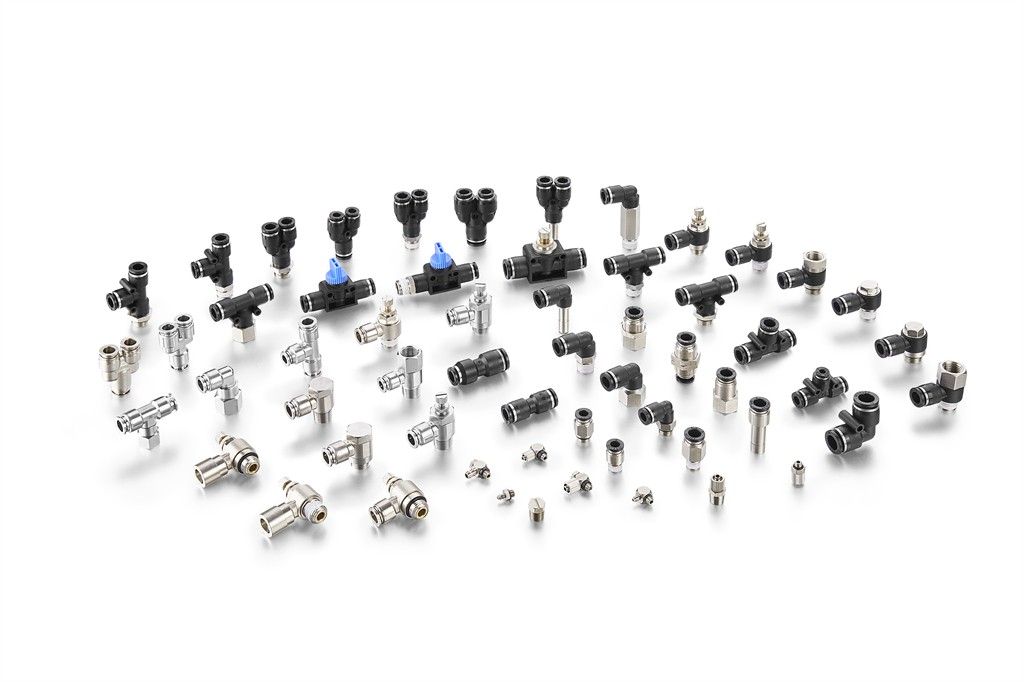
- 5. Wide Variety of Configurations: Available in straight, elbow, tee, Y, bulkhead, and manifold types.
Common Limitations
- 1. Pressure Limitations: Typically rated up to 150–250 psi. Not suitable for high-pressure pneumatics or hydraulics.
- 2. Temperature Sensitivity: Elastomeric seals may degrade under extreme heat or cold.
- 3. Vibration Vulnerability: Can loosen over time in high-vibration environments unless secured.
- 4. Tubing Constraints: Only compatible with select tubing materials and precise diameters.
- 5. Risk of Improper Insertion: Partial engagement may lead to dangerous blowouts.
How Do You Select the Right Push-to-Connect Fitting for Your Application?
Choosing the correct fitting requires more than matching diameters—environmental, mechanical, and chemical factors must be considered.
Selection Criteria Table
| Parameter | Considerations |
|---|---|
| Tube OD | Must match fitting size exactly |
| Material | Brass, plastic, stainless steel based on environment |
| Seal Material | NBR, EPDM, Viton based on media and temperature |
| Operating Pressure | Ensure pressure rating exceeds system max |
| Temperature Range | Match peak and ambient conditions |
| Configuration | Choose elbow, tee, Y, or manifold as needed |
| Certifications | FDA, NSF, ISO for food, medical, or regulated industries |
Flowchart: How to Choose the Right Fitting

How Do You Install, Inspect, and Maintain Push-to-Connect Fittings?
Proper installation and regular maintenance are essential for leak-free performance and long-term reliability.
Installation Best Practices
- 1. Cut Tube Squarely: Always use a sharp tube cutter to avoid angled cuts or burrs.
- 2. Deburr and Clean: Remove any debris or dust to protect the O-ring and ensure sealing.
- 3. Insert Fully: Push the tube until it bottoms out—listen for a soft “click.”
- 4. Pull Test: After insertion, lightly pull to ensure the tube is firmly gripped.
Inspection Checklist
| Inspection Item | Frequency | What to Look For |
|---|---|---|
| Tube Condition | Monthly | Cracks, flattening, UV damage |
| O-Ring Condition | Semi-Annually | Dry, cracking, or missing seals |
| Grip Retention | During service | Loose or sliding tubes |
| Leak Check | Every shutdown | Bubble test or ultrasonic leak detector |
Maintenance Tips
- Replace O-rings during scheduled maintenance or if leakage is detected.
- Use tube supports in high-vibration areas to reduce fitting stress.
- Avoid over-bending tubing near the fitting; use elbows instead.
Conclusion
Push-to-connect fittings have revolutionized the world of pneumatic connections. Their simplicity, speed, and reliability make them essential in modern automation, manufacturing, and instrumentation systems. However, like any technology, their effectiveness depends on proper selection, installation, and maintenance.
By understanding how these fittings work—from their internal sealing mechanisms to material compatibility and environmental limitations—you can design and maintain pneumatic systems that are both efficient and durable.
Whether you’re retrofitting a compressed air line or designing a new robotic assembly, push-to-connect fittings offer an elegant and scalable solution—provided you respect their operational parameters and best practices.

