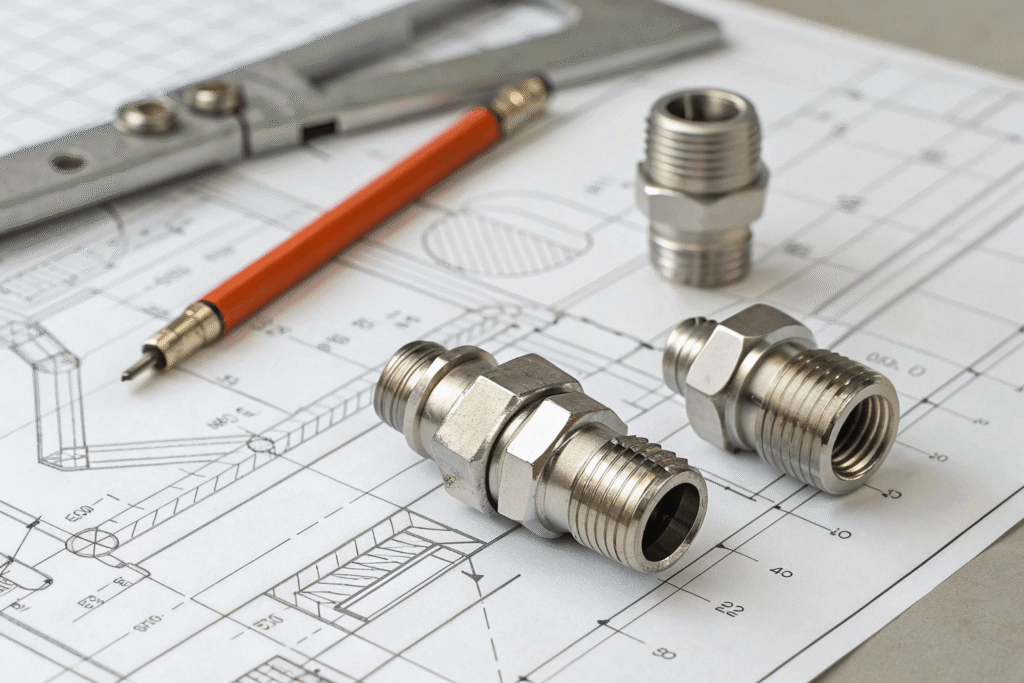
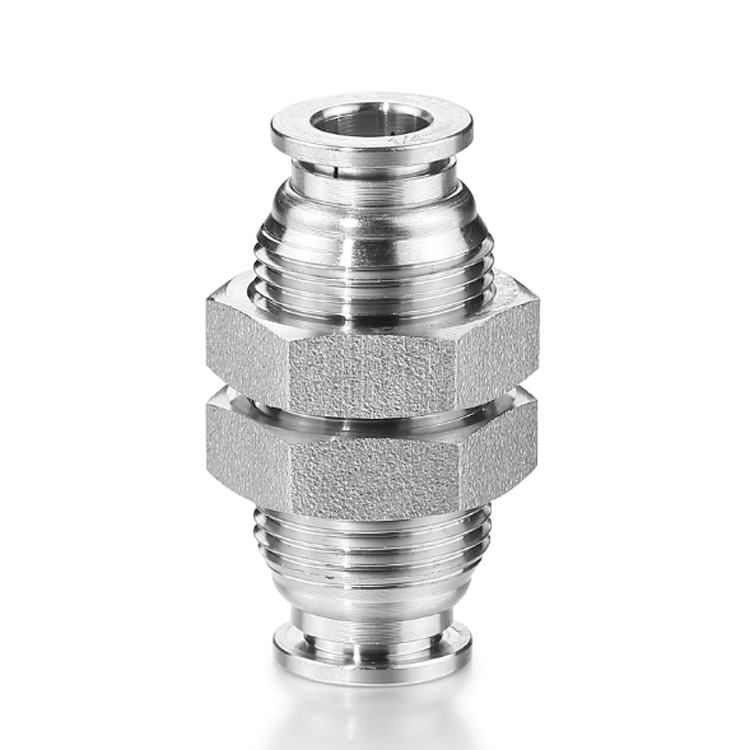
I’ve spent enough time commissioning pneumatic lines in food, marine, and chemical plants to know that a single counterfeit stainless fitting can undo weeks of work. I’ve seen air leaks that wouldn’t tune out, ferrules that cracked during startup, and “316” elbows that flash-rusted before the FAT was done. Most teams don’t get fooled by looks—the fakes often look the part—but by gaps in documentation, subtle machining defects, and material swaps (201 passed off as 304, or plated carbon steel sold as stainless). My goal here is to give you a field-ready playbook that blends document scrutiny, quick shop-floor tests, and supplier controls that actually prevent bad fittings from reaching your manifolds.
To identify counterfeit or substandard stainless steel pneumatic fittings, I verify traceability (heat numbers tied to 3.1/3.2 MTRs), inspect markings and threads, and run quick composition checks (magnet and portable XRF/PMI). I also pressure/leak test representative samples and audit suppliers for ISO 9001, batch traceability, and consistent branding/packaging. Strong magnetism, mismatched heat numbers, vague grade markings, rough threads, early rusting, or unusually light weight are immediate red flags.
In the sections below, I’ll walk through exactly what to check on material certificates, how to spot fake markings and low-grade ferrules, how to run quick PMI or magnet tests, and what supplier audits and traceability controls I require before issuing payment. I’ll also share pragmatic tips—like weight/wall checks, soap-bubble leak testing, and how to interpret XRF results for 304 vs. 316—that have saved my teams more than once.

Table of Contents
ToggleWhat should I check on material certificates (heat numbers, 3.1/3.2 MTRs) to confirm grade?
How I validate MTRs without slowing procurement
I start by demanding a material test report (EN 10204 3.1 as the baseline; 3.2 for safety-critical or regulated projects). Then I verify:
- Heat number consistency
- The heat number on the MTR must match the heat/batch code physically marked on each fitting (or at minimum on each bag/unit label with a clear link to the part). Any mismatch = hold shipment.
- Chemical composition against declared grade
- 304: Cr ~18–20%, Ni ~8–10.5%, Mn ~2% typical, Mo ~0%
- 316/316L: Cr ~16–18%, Ni ~10–14%, Mo ~2–3%, lower C for L grade
- “316” with no Mo or “304” with Ni ~3–5% screams substitution (e.g., 201).
- Mechanical properties and process notes
- Tensile/yield consistent with ASTM A182/A403 for forging/welded fittings, hardness within spec, solution annealed where required.
- Certification and standards reference
- Look for ASTM/ASME/ISO callouts (e.g., ASTM A182 F316L, ASME B16.11, ISO 4144) and the mill’s name, address, contact. Photocopied logos, missing signatures, or generic templates are red flags.
- Traceability chain
- MTR revision, purchase order link, lot size, and any third-party witness stamps for 3.2. I’ll often request the mill’s heat chemistry summary to corroborate multiple lots.
- Consistency across a batch
- Composition values should be plausible across the batch—perfectly identical decimals across different heats can indicate fabricated data.
Table: Minimum I require from MTRs for pneumatic fittings
- Heat number(s) and batch ID tied to physical parts
- Full chemistry with Cr/Ni/Mo values per claimed grade
- Mechanical properties per relevant ASTM/ASME
- Standard references (ASTM A182/A403; ASME B16.11; ISO 4144)
- Signature/date, mill identity, and traceability to PO

How do I spot fake markings, inconsistent threads, or low‑grade ferrules?
Markings and branding: what genuine looks like
- Crisp, consistent, and permanent marks: grade (304/316/316L), nominal size, pressure class, manufacturer logo, and heat/batch code.
- Location and method are consistent across the brand; no mix of hand-stamps and laser on the same batch.
- Packaging aligns with brand standards: correct logo, part numbers, barcodes, and instructions. Misspellings, mismatched fonts, or generic boxes are a warning.
Machining and thread quality: fast telltales
- Threads: clean flanks, correct form (NPT per ANSI B1.20.1, G/BSP per ISO 7-1), no torn grain, burrs, or double-start artifacts. Use a go/no-go gauge when possible.
- Dimensions: verify key dimensions with calipers—body OD, thread engagement length, and bore. “Light pattern” look or unusually low weight suggests underspec wall thickness.
- Surface: uniform finish and proper passivation; early tea-staining, pitting, or discoloration indicates poor alloy or passivation.
- Ferrules/nuts (for compression fittings): genuine stainless ferrules feel harder and machine-finished; low-grade ferrules are softer, smear when filed lightly, and can crack on make-up. Mixed-metal ferrules (e.g., plated carbon steel) are a common counterfeit tactic.
Table: Quick red flags in physical inspection
- Vague grade marks (“SS” instead of 304/316)
- Heat number absent or only on paperwork
- Rough threads, burrs, inconsistent pitch
- Unusually light weight/thin walls
- Early rusting or magnetic discoloration
- Mixed finishes in the same lot
Can I perform simple PMI or magnet tests to verify stainless composition?
Field-screening tests I actually use
- Magnet test (1 minute)
- 304/316 austenitic are non- to weakly-magnetic. Strong attraction suggests ferritic grades or plated carbon steel. Note: cold-worked areas can show mild magnetism even when genuine.
- Weight and wall check
- Compare against a known-good sample or datasheet mass. Significantly lighter parts often cut corners on wall thickness or use cheaper alloys.
- Soap-bubble leak test on assembly
- Pressurize with dry air or nitrogen at design pressure and check all joints. Micro-bubbling on new fittings is unacceptable.
PMI/portable XRF: my go-to confirmation
- What I look for on XRF:
- 304: Cr ~18–20%, Ni ~8–10.5%; Mo ≈ 0
- 316: Cr ~16–18%, Ni ~10–14%, Mo ~2–3%
- Red flags: Ni <6% on “304”; Mo <1% on “316”; Mn >5% indicating 201-type substitution.
- Procedure tips:
- Clean the spot (no oil/labels), take multiple readings on body and nut/ferrules, and document printouts/screenshots into the lot file.
- Test a representative sample from every heat and every size in critical projects.
When to escalate to lab
- If XRF is inconclusive or high-risk service (marine washdown, CIP, corrosives), send a sample for ICP or wet chemistry. I typically do this for first-article approval or when I spot any inconsistency across lots.
Table: Composition checkpoints by claimed grade
- 304: Cr 18–20, Ni 8–10.5, Mo ~0, Mn ~2
- 316/316L: Cr 16–18, Ni 10–14, Mo 2–3, C low for L
- 201 (often faked as 304): Cr 16–18, Ni 3–5, Mn 5–7
What supplier audits and traceability checks should I require before payment?
My pre-payment checklist for minimizing counterfeit risk
- Traceability end-to-end
- Heat numbers on parts/labels match MTRs; packing lists reference the same lots; digital records provided. I reject shipments that cannot tie every item to a heat.
- Quality management and authorization
- ISO 9001 certificate, authorized distributor letter (if not the mill), and evidence of final inspection (dimensional and visual).
- Standards alignment
- Clear references to ASTM A182/A403, ASME B16.11, ISO 4144 (as applicable). Pressure classes stated and plausible for material/size.
- First-article verification for new vendors
- Require 1–3 parts per size/heat for PMI (XRF), dimensional check, and leak/pressure test before releasing balance payment.
- Packaging and branding consistency
- Sealed bags/boxes with proper labels, barcodes, and part numbers; no mixed branding in the same master carton.
- Performance spot checks
- Hydrostatic or pneumatic test on a sample assembly (I prefer pneumatic at design pressure for leak detection; hydrostatic for structure). Hold time ≥30 minutes, document results.
- Commercial sanity checks
- Price within market bands; unusually cheap (20–40% below market) correlates with substitutions. Confirm lead times align with real production, not “available now” from a reseller without pedigree.
Contractual controls that help
- Include right-to-audit and destructive test allowance on suspect lots.
- Payment milestones tied to documentation acceptance, first-article PMI, and sample pressure/leak test passes.
- Nonconformance penalties and return rights for any material failing PMI or traceability.

Conclusion
Counterfeit or substandard stainless steel pneumatic fittings rarely fail on day one—they bleed you with leaks, maintenance churn, and premature corrosion. I prevent that by stacking defenses: verified MTRs with matching heat numbers, disciplined visual/thread inspection, quick magnet and weight checks, and XRF on first articles and suspect lots. For critical environments, I add sample pressure/leak tests and, when needed, lab chemistry. The procurement side matters just as much: ISO 9001 suppliers, authorized channels, consistent branding/packaging, and contracts that tie payment to verification. Do these consistently, and you’ll screen out 80–90% of bad actors before a single fitting reaches your manifold.

